Continued work on horizontal stabilizer parts including deburring rivet holes, edges, and rounding corners. The work is slow going, but I'm happy to get the parts to the point I know the mating surfaces will be gap free.

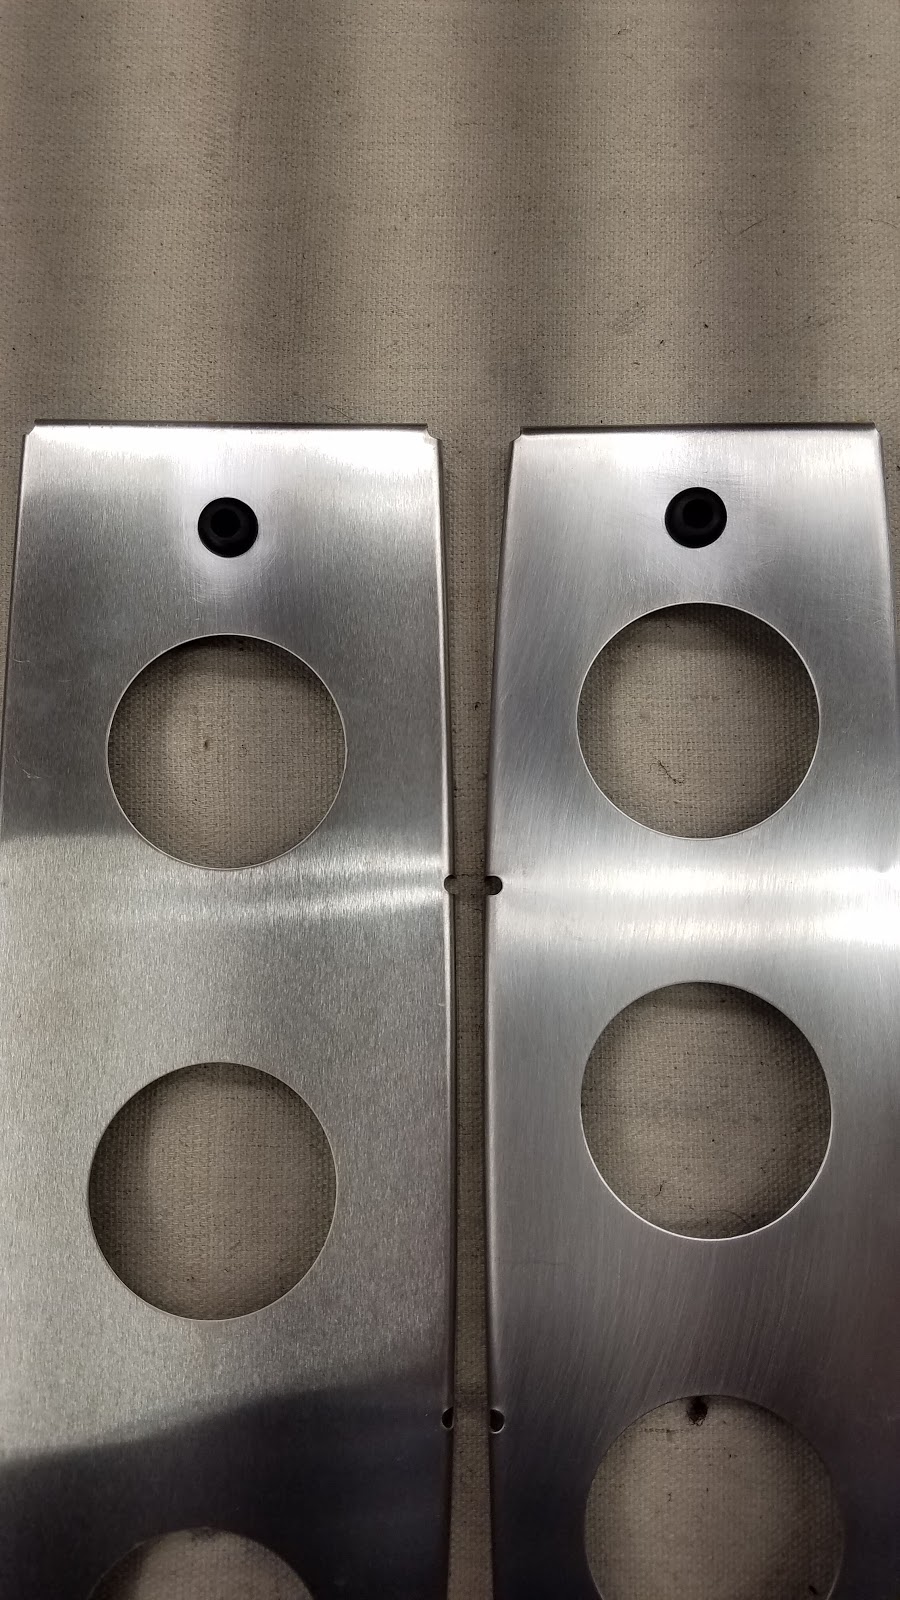
The grommets for the trim servo wire are barely big enough to fit the provided 6-core wire and too big to fit in the pre-drilled holes in the ribs. I increased the rib hole sizes to 3/8" since the caliper measurement outer diameter of the grommet measured 25/64". The grommets fit and the wire is able to pass through the new diameter.

I need to go back over the nose ribs and round out the corners I skipped. After that, I'll be ready to clean and prime the horizontal stabilizer parts, but I won't be able to assemble the complete frame. One of the plates is being replaced and not due to arrive until April.
I want to take a moment to describe my parts inspection/preparation process. I don't know if it's more or less than other's do, but I spent time building an airplane with a rather detail oriented A&P mechanic and I feel better about being thorough. This applies to most any kind of part (bracket, plate, channel, skin, or rib):
1) Check the edges for burs and general condition. I use a flat file on rib flange edges to smooth out imperfections and jagged sections.
2) Debur rivet holes using either a deburring tool or 320 grit sandpaper. Go over sandpaper later with a Scotch-Brite pad.
3) Sand down rib flanges that flare up towards the skin. This is common if the rib was formed with the bur-baring side facing outward. These edge flares can deform the skin and create unsightly bumps or simply wear the back-side of the skin material out and become candidates for cracks.
4) Round the corners of parts that come into contact with other parts. To me, this is most applicable to rib flanges with relief cuts instead of fluting (as is the case with the Sling). These relief cuts leave a sharp corner that comes in contact with the skin and result in scratching and eventual material failure. Rounding these corners with a small piece of sandpaper will keep that problem from prematurely presenting.
5) I inspect the part for scratches that could develop into stress fractures and structural failure. These are scratches that I can catch or feel with a fingernail. If it doesn't meet the fingernail test, it'll get buffed out with a Scotch-Brite pad. Otherwise, I'll remove the scratch using successively increasing grits of sandpaper followed by the Scotch-Brite.
6) I go over the edges with Scotch-Brite pads to smooth them out. This also slightly rounds out the edges, reducing the opportunities for primary or ancillary fracture formations. I also check any edges that I may have filed before to ensure a smooth finish. I wait to use the Scotch-Brite pads on the edges until I've rounded any corners. The pads tend to readily catch on un-rounded corners.
7) Fix an minor deformations in the material. This could include uneven rib flanges or slight, repairable dents. Some deformations can't or shouldn't be repaired and this should be identified before beginning this process. Order a replacement part.
8) Finally, I go over the part completely with a Scotch-Brite pad to buff out any sandpaper work and to scuff it for primer.
Admittedly, this is a lot of extra work. I'd like to believe that it will result in a higher quality, longer lasting airplane. The airplane will long outlive my ownership of it whether or not I put in all this extra preparation.

The grommets for the trim servo wire are barely big enough to fit the provided 6-core wire and too big to fit in the pre-drilled holes in the ribs. I increased the rib hole sizes to 3/8" since the caliper measurement outer diameter of the grommet measured 25/64". The grommets fit and the wire is able to pass through the new diameter.
I want to take a moment to describe my parts inspection/preparation process. I don't know if it's more or less than other's do, but I spent time building an airplane with a rather detail oriented A&P mechanic and I feel better about being thorough. This applies to most any kind of part (bracket, plate, channel, skin, or rib):
1) Check the edges for burs and general condition. I use a flat file on rib flange edges to smooth out imperfections and jagged sections.
2) Debur rivet holes using either a deburring tool or 320 grit sandpaper. Go over sandpaper later with a Scotch-Brite pad.
3) Sand down rib flanges that flare up towards the skin. This is common if the rib was formed with the bur-baring side facing outward. These edge flares can deform the skin and create unsightly bumps or simply wear the back-side of the skin material out and become candidates for cracks.
4) Round the corners of parts that come into contact with other parts. To me, this is most applicable to rib flanges with relief cuts instead of fluting (as is the case with the Sling). These relief cuts leave a sharp corner that comes in contact with the skin and result in scratching and eventual material failure. Rounding these corners with a small piece of sandpaper will keep that problem from prematurely presenting.
5) I inspect the part for scratches that could develop into stress fractures and structural failure. These are scratches that I can catch or feel with a fingernail. If it doesn't meet the fingernail test, it'll get buffed out with a Scotch-Brite pad. Otherwise, I'll remove the scratch using successively increasing grits of sandpaper followed by the Scotch-Brite.
6) I go over the edges with Scotch-Brite pads to smooth them out. This also slightly rounds out the edges, reducing the opportunities for primary or ancillary fracture formations. I also check any edges that I may have filed before to ensure a smooth finish. I wait to use the Scotch-Brite pads on the edges until I've rounded any corners. The pads tend to readily catch on un-rounded corners.
7) Fix an minor deformations in the material. This could include uneven rib flanges or slight, repairable dents. Some deformations can't or shouldn't be repaired and this should be identified before beginning this process. Order a replacement part.
8) Finally, I go over the part completely with a Scotch-Brite pad to buff out any sandpaper work and to scuff it for primer.
Admittedly, this is a lot of extra work. I'd like to believe that it will result in a higher quality, longer lasting airplane. The airplane will long outlive my ownership of it whether or not I put in all this extra preparation.
Comments
Post a Comment